How to Fit Thule Roof Bars
Thule roof bars are simple to install and do not require expert assistance. In this tutorial we go over the fundamentals of Thule roof bar installation.
Step 1: Identify the correct Roof Bar
Thule roof bars, like all roof bars, are not one size fits all; they are built to accommodate a variety of vehicles and come in various of sizes. By asking your roof bar retailer for information or assistance, or using a roof bar guide, you can ensure that you are getting a suitable roof bar for your vehicle.
Step two: Identify the necessary fixtures and fittings.
To fit the roof bar to your vehicle, you'll need the appropriate foot pack and, in certain cases, a Thule fit kit, which functions as a form of adaptor for your specific car model.If you are unsure of which fixtures you need, refer to a roof bar guide from your chosen Thule retailer.
Step 3: Go over the instructions.
Before beginning the fitting process, read through the instructional booklet/PDF to ensure that everything goes as smoothly as possible. Your roof bar, fit kit, and foot pack will all come with their own set of instructions that should be simple to follow.
Step 4: Get your vehicle ready
Make sure your car, especially the roof, is clean and dry before installing your roof bar. Choose a dry day and dress appropriately, as working against the car may cause dirt to rub off on your clothes. If your car is exceptionally tall, a small step ladder may be required to easily reach the top.
Step 5: Put together your fitting kit and/or footpack.
If a fitting kit is required, follow the manufacturer's instructions for assembling and attaching it to the footpack. A fit kit is an adaptor for your roof bar and vehicle, whereas a footpack is designed to attach directly to the roof bar. To install your roof bar, you may require both the fitting kit and the footpack, or simply the footpack alone. To find out which parts you require, Consult our roof bar guide.
Step Six: Assemble the necessary elements
Now that you have all of the necessary components (foot pack and fit kit), it's time to put them together. Assembly is usually simple and quick, taking only three steps or less. Depending on the vehicle and roof bar it is meant for, each foot pack/fit kit is slightly different. Instructions for assembly are also available online at the Towing Centre and Thule websites, if not provided with your kit.
Step Seven: Fit the footpack
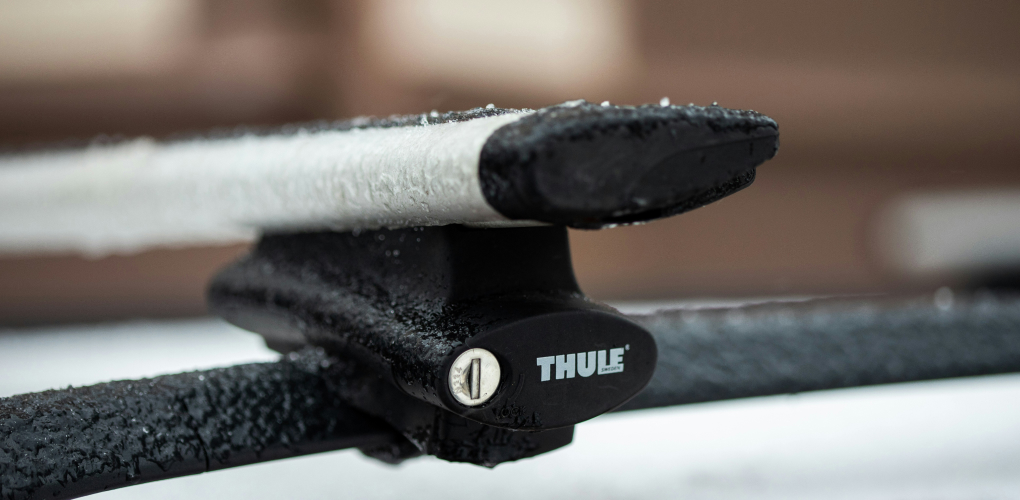
After you've attached the fit kit (if applicable), you'll need to attach the footpack to the roof bar. The footpack simply fits onto the bottom of the Thule roof bar. A ruler should be visible on the roof bar's underside. This will allow you to fasten each foot at the optimum distance to fit your car effectively.
R
Step Eight: Connect the Roof Bar to the Vehicle
The roof bar can be mounted once all of the needed components (roof bar, foot pack, and fit kit) have been built and adjusted according to the instructions and your vehicles requirements. If you utilised a fit kit, make sure the foot is attached to each fit kit point. If you don't have a fit kit, the foot should be attached to the vehicle's pre-installed fixation points, the roof of the car or your vehicles flush rails.
Now you're all set and ready for your next adventure!


